In-Depth Guide to Resealing Concrete Benchtops with MACt Seal.
Resealing a concrete benchtop is an excellent way to extend its life and enhance its appearance. This in-depth guide focuses on resealing concrete benchtops using MACt Seal, a high-quality sealer designed for concrete surfaces. We will cover important safety information, surface protection, and tips for repairing chips and damage. This guide is intended for DIY enthusiasts who want to tackle this project themselves.
Step 1: Prepare the Work Area
- Remove any items, appliances, and decorations from the benchtop.
- Lay down surface protection on the floor around the benchtop, such as plastic sheeting or drop cloths, to catch debris and spills. Secure the material to the edges of the cupboards using painter’s tape to prevent it from shifting.
- Ensure proper ventilation by opening windows or using fans to circulate air.
Step 2: Assess the Benchtop and Gather Materials
- Inspect the benchtop for any damage or defects, such as chips, cracks, and stains.
- Gather all necessary materials, including an orbital sander, various grits of ceramic sandpaper (120, 180, and 240 grit), MACt grout, Tenax, MACt Seal, a paintbrush or roller, acetone, clean cloths, gloves, safety goggles, and a dust mask.
Step 3: Remove the Old Sealer
- Put on gloves, safety goggles, and a dust mask before beginning.
- Use an orbital sander with 120-grit ceramic sandpaper to remove the old sealer, taking care to avoid damaging the concrete surface. Gradually move up to 180-grit, then 240-grit sandpaper for a smoother finish.
Step 4: Repair Chips and Damages
- Fill small holes and chips with MACt grout, following the manufacturer’s instructions for mixing and application.
- For larger holes, use Tenax according to the product guidelines.
- Allow the repair materials to dry and cure as directed before sanding the entire benchtop again with 240-grit sandpaper to ensure a smooth, even surface.
Step 5: Clean the Surface
- Wipe the benchtop with a damp cloth to remove any dust or debris.
- Use acetone and a clean cloth to thoroughly clean the surface, removing any remaining contaminants that may interfere with the sealer’s adhesion.
- Allow the benchtop to dry completely before proceeding.
Step 6: Apply MACt Seal
- Put on gloves and safety goggles to protect yourself during the application process.
- Mix MACt Seal according to the manufacturer’s instructions.
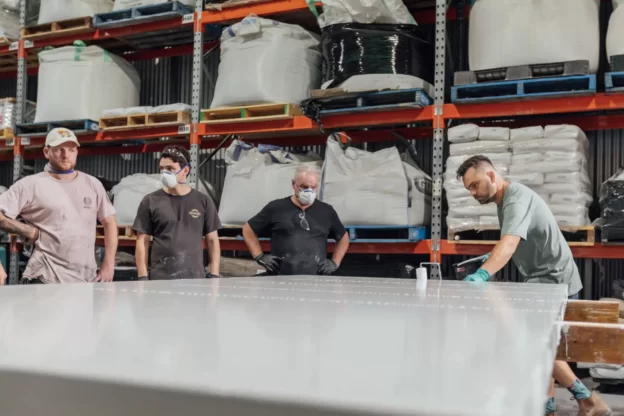
- Apply a thin, even coat of MACt Seal to the benchtop using a roller. Get a second roller to gentle back roll between coats to even out the coverage this will help reduce the risk of leaving streaks, bubbles, or uneven areas, as these can affect the final appearance and performance of the sealer.
- Allow the first coat to dry according to the product guidelines, typically 1-2 hours.
- Apply a second coat of MACt Seal in the same manner, ensuring complete coverage and even application.
- Allow the second coat to dry for the recommended time, repeat this step at least 2 more times. You want a minimum of 4 coats.
Step 7: Inspect and Cure the Benchtop
- Examine the benchtop for any defects or uneven sealer application.
- Make any necessary repairs or adjustments while the sealer is still wet.
- If at any time your roller marks do not dry out, it is best to remove the coat of sealer with either acetone, or with an orbital sander. Extra coats will not hide the roller marks.
- Allow the sealer to cure according to the manufacturer’s instructions, which typically takes 72 hours with optimal performance not for 7 days.
With this comprehensive guide, you can now effortlessly restore your worn-out concrete benchtop back to its former glory. By using MACt Seal and following our detailed step-by-step instructions, safety tips, surface protection measures, and expert advice on repairing chips and damages, you can transform your benchtop into a stunning centrepiece. Breathe new life into your concrete benchtop and experience the satisfaction of a successful home improvement project.


