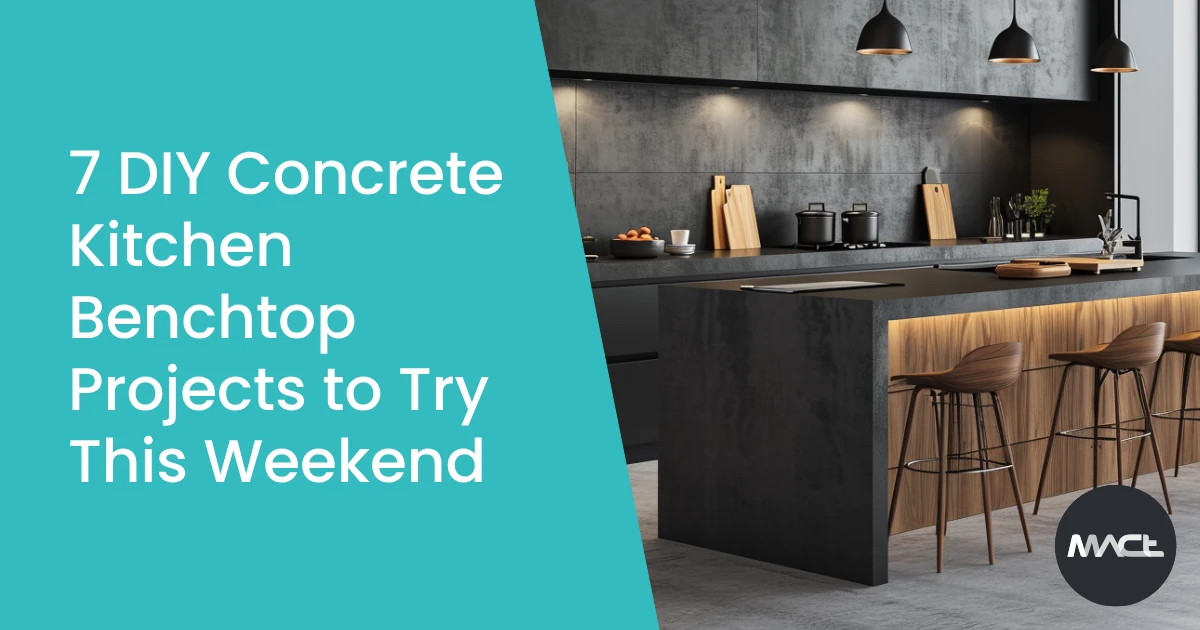
Concrete kitchen benchtops have become a popular choice for modern homes, offering durability, customization, and a sleek, contemporary look. If you’re looking to add a unique touch to your kitchen without breaking the bank, a DIY concrete kitchen benchtop project might be just what you need. Here are seven DIY concrete kitchen benchtop projects you can try this weekend, each designed to fit various skill levels and design preferences.
Preparing for Your DIY Projects
Before diving into the specific projects, it’s important to prepare adequately. Here’s a quick rundown of the tools and materials you’ll need for most concrete kitchen benchtop projects. Ensuring you have everything you need before starting will make the process smoother and more enjoyable.
Tools and Materials Needed
Safety Precautions
Basic Concrete Kitchen Benchtop
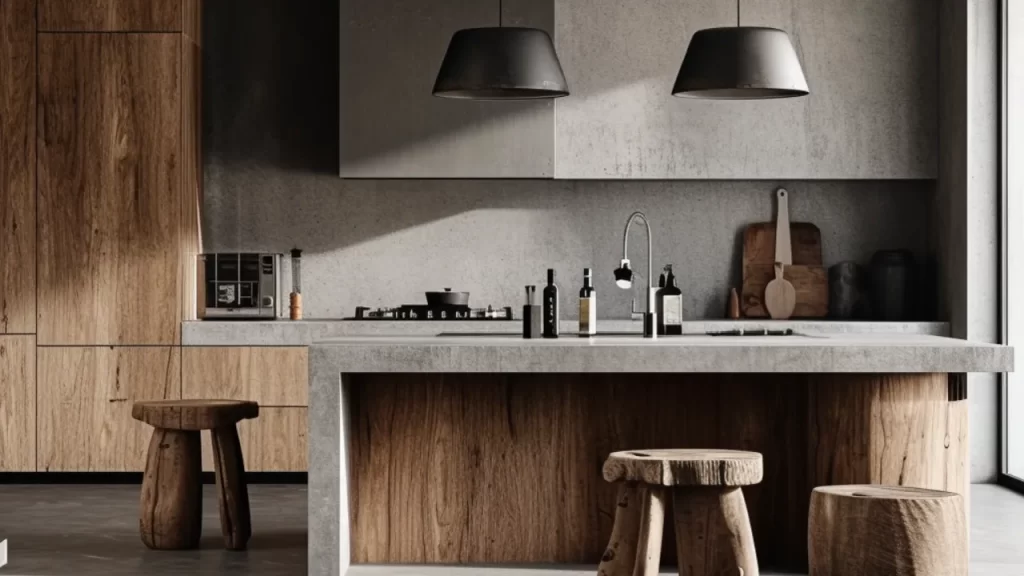
A basic concrete kitchen benchtop is the perfect starter project if you’re new to working with concrete. This project will introduce you to the fundamentals of creating a concrete benchtop, from building the mould to pouring the concrete blend and finishing with a polish.
Step-by-Step Guide
- Creating the Mould: Construct a mould using plywood, ensuring it’s the right size for your benchtop. Seal the edges with silicone to prevent leaks.
- Mixing the Concrete Blend: Follow the instructions on your concrete blend package, mixing until you achieve a smooth consistency.
- Pouring and Setting: Pour the concrete into the mould, using a vibrating tool or tapping the sides to remove air bubbles.
- Curing and Polishing: Allow the concrete to cure for at least 48 hours. After curing, use a concrete polisher to smooth the surface, finishing with a sealant for protection.
Polished Concrete Benchtop
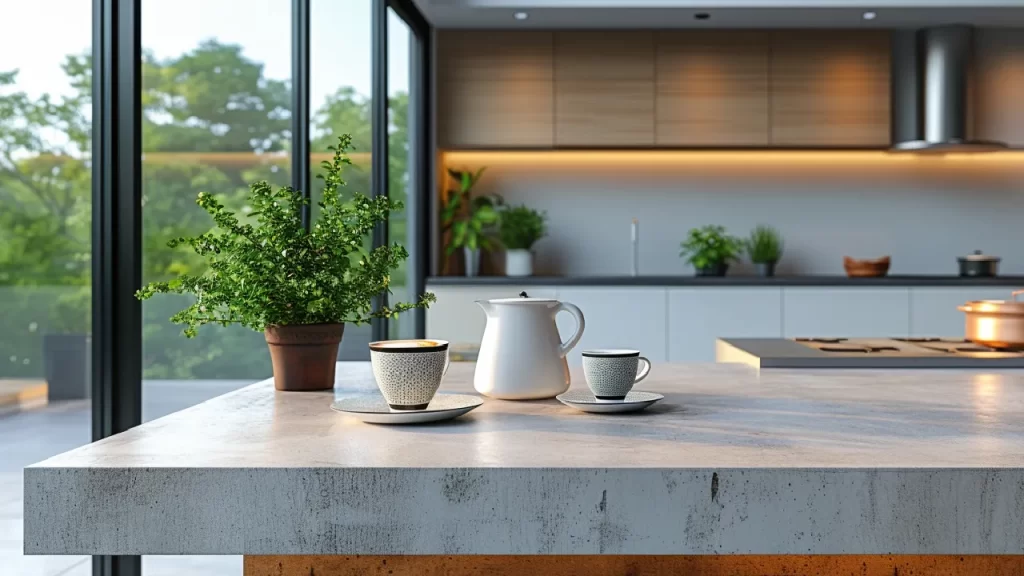
A polished concrete benchtop adds a touch of elegance and sophistication to your kitchen. This project builds on the basic benchtop by introducing polishing techniques that create a high-gloss, reflective surface that is both beautiful and functional.
Step-by-Step Guide
- Initial Setup: Prepare your workspace and materials. Ensure your mould is clean and ready.
- Pouring and Vibrating: Pour the concrete into the mould and use a vibrating tool to eliminate air bubbles.
- Polishing Process: Once cured, use a concrete polisher to achieve a high-gloss finish. Start with a coarse grit and gradually move to finer grits for a smooth surface.
- Finishing Touches: Apply a sealant to protect the polished surface and enhance its shine.
Integrated Sink Concrete Benchtop
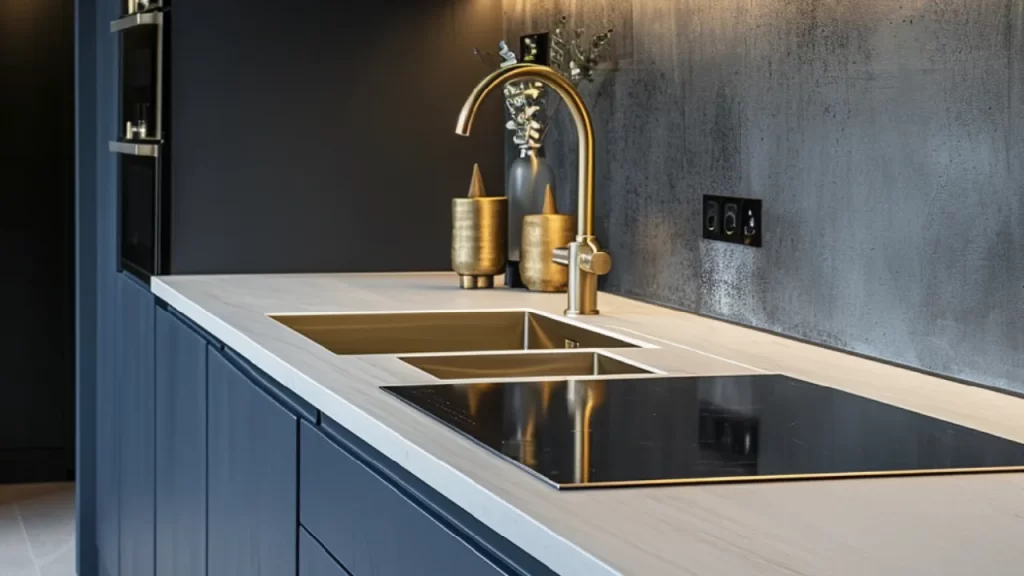
For a seamless, modern look, consider an integrated sink concrete benchtop. This project involves creating a benchtop that incorporates the sink, providing a sleek, unified appearance that is both practical and stylish.
Step-by-Step Guide
- Mould Design for Sink Integration: Design a mould that includes space for the sink. Ensure it’s sturdy and well-sealed.
- Reinforcement Techniques: Use rebar or mesh to reinforce the benchtop, especially around the sink area.
- Pouring and Shaping: Pour the concrete, ensuring it flows smoothly into the sink mould. Use tools to shape and smooth the edges.
- Polishing and Sealing: Once cured, polish the surface with a concrete polisher and apply a sealant for durability.
Stained Concrete Benchtop
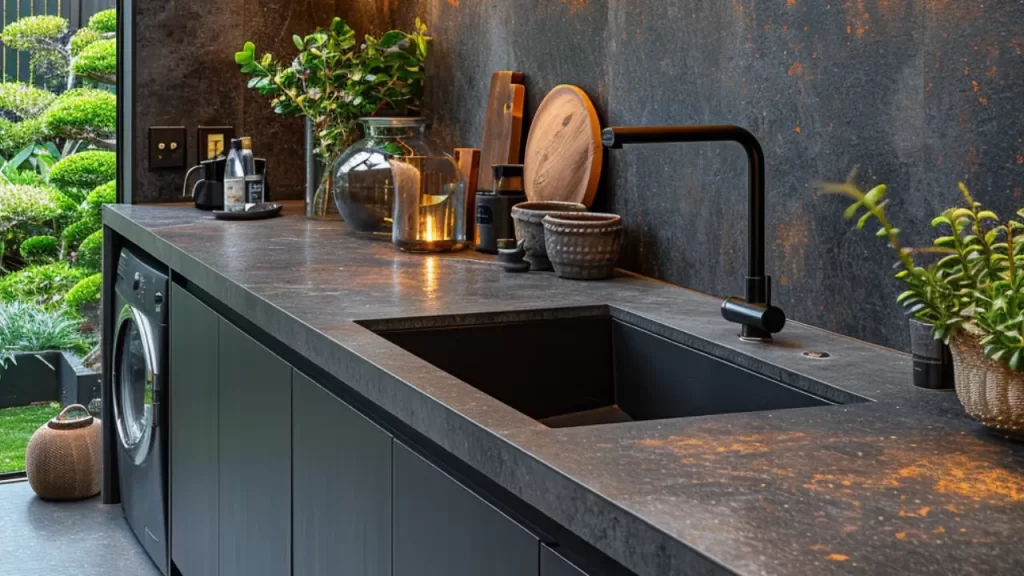
A stained concrete benchtop can add colour and character to your kitchen. Staining concrete is a creative way to enhance the natural look of concrete and match it to your kitchen’s colour scheme.
Step-by-Step Guide
- Preparation and Pouring: Set up your mould and pour the concrete blend.
- Staining Process: After the concrete has set slightly, apply the stain according to the manufacturer’s instructions. This can be done with a brush or spray bottle.
- Sealing: Once the stain has dried, apply a sealant to protect the surface and enhance the colour.
GFRC Concrete Benchtop
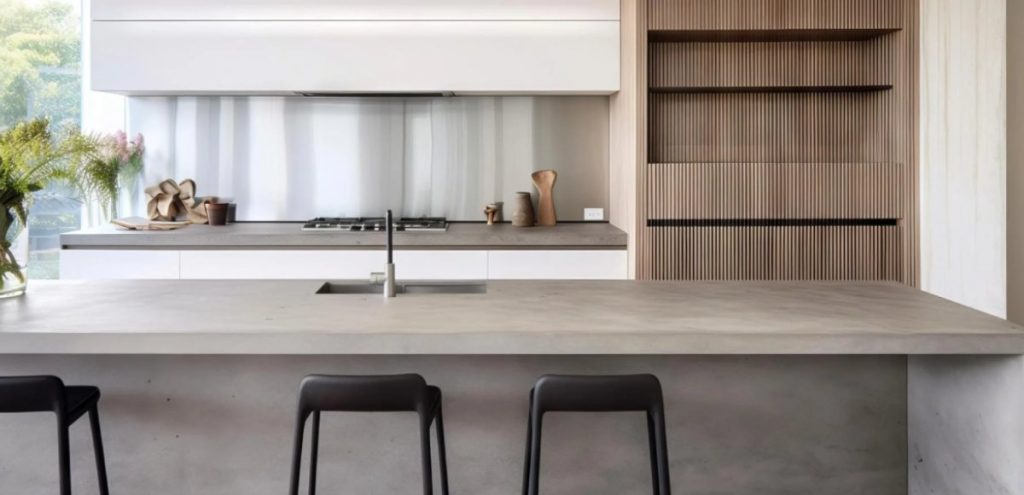
Glass Fiber Reinforced Concrete (GFRC) is a versatile and durable option for benchtops. GFRC is made by adding glass fibres to the concrete mix, making it stronger and lighter than traditional concrete, ideal for a kitchen benchtop.
Step-by-Step Guide
- Understanding GFRC: GFRC is made by adding glass fibres to the concrete mix, making it stronger and lighter.
- Mixing GFRC: Follow specific ratios for mixing GFRC. The blend should be consistent and fibre-reinforced.
- Pouring and Curing: Pour the GFRC mix into your mould and allow it to cure properly.
- Polishing: Use a concrete polisher to smooth the surface, then seal it for protection. For more advanced techniques, consider taking a GFRC course in Brisbane.
Embedded Objects Concrete Benchtop
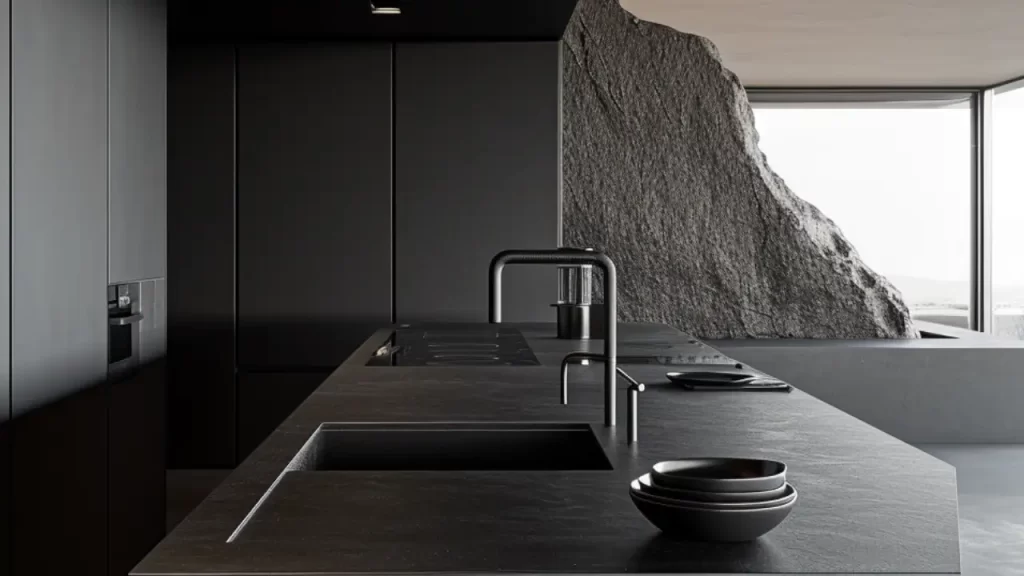
Embedding objects like stones or glass into your benchtop can create a unique, custom look. This project allows you to personalise your benchtop with materials that reflect your style and add a decorative element to your kitchen.
Step-by-Step Guide
- Designing the Mould: Plan where you want to place your embedded objects and construct your mould accordingly.
- Embedding Techniques: Place your objects in the mould before pouring the concrete. Ensure they’re securely positioned.
- Pouring and Setting: Pour the concrete over the objects, tapping the mould to remove air bubbles.
- Polishing and Sealing: Once cured, polish the surface with a concrete polisher and apply a sealant to protect the embedded objects.
Custom Edges and Shapes Concrete Benchtop
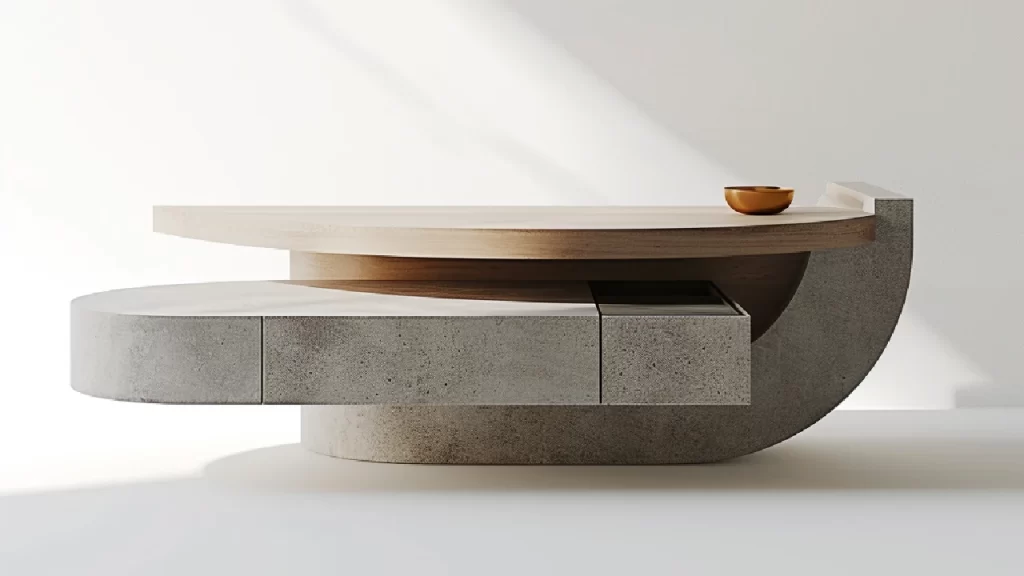
For a truly custom look, experiment with unique edges and shapes. This project involves creating moulds that produce non-standard shapes and edges, allowing you to design a benchtop that is completely unique.
Step-by-Step Guide
- Creating Custom Moulds: Design and construct moulds that fit your desired shapes and edges.
- Pouring and Shaping: Pour the concrete into the moulds, using tools to shape and smooth the edges.
- Polishing and Sealing: After curing, use a concrete polisher to smooth the surface and apply a sealant for durability.
Conclusion
Concrete kitchen benchtops offer a blend of functionality and style, making them an excellent choice for any kitchen. By trying out these seven DIY projects, you can create a beautiful and unique benchtop that suits your home perfectly. Whether you’re a beginner or an experienced DIY enthusiast, these projects provide a range of options to fit your skill level and design preferences.
Remember to always prioritise safety, follow the instructions carefully, and take your time to ensure the best results. For those interested in more advanced techniques, taking a GFRC course in Brisbane can provide valuable insights and skills. Happy DIY-ing!
GFRC Training Course

Join the MACt GFRC Workshop on August 22-23, 2024, in Banyo, QLD. Learn expert techniques in mould design, form preparation, mixing, pouring, and finishing GFRC. Perfect for DIY enthusiasts, architects, and tradesmen. Early bird price is $1490 (regularly $2500). Don’t miss this opportunity to master GFRC!
